A clogged caulk gun, a common frustration for both DIY enthusiasts and professional contractors, often halts projects unexpectedly. The type of caulk being used significantly impacts the likelihood of clogs, demanding varied cleaning approaches. Learning how to remove caulk from caulk gun is a vital skill for maintaining your tools and ensuring smooth application, saving you time and preventing frustration during your next home improvement project. Understanding the proper techniques means you can get back to work quickly and avoid replacing a perfectly good caulk gun.
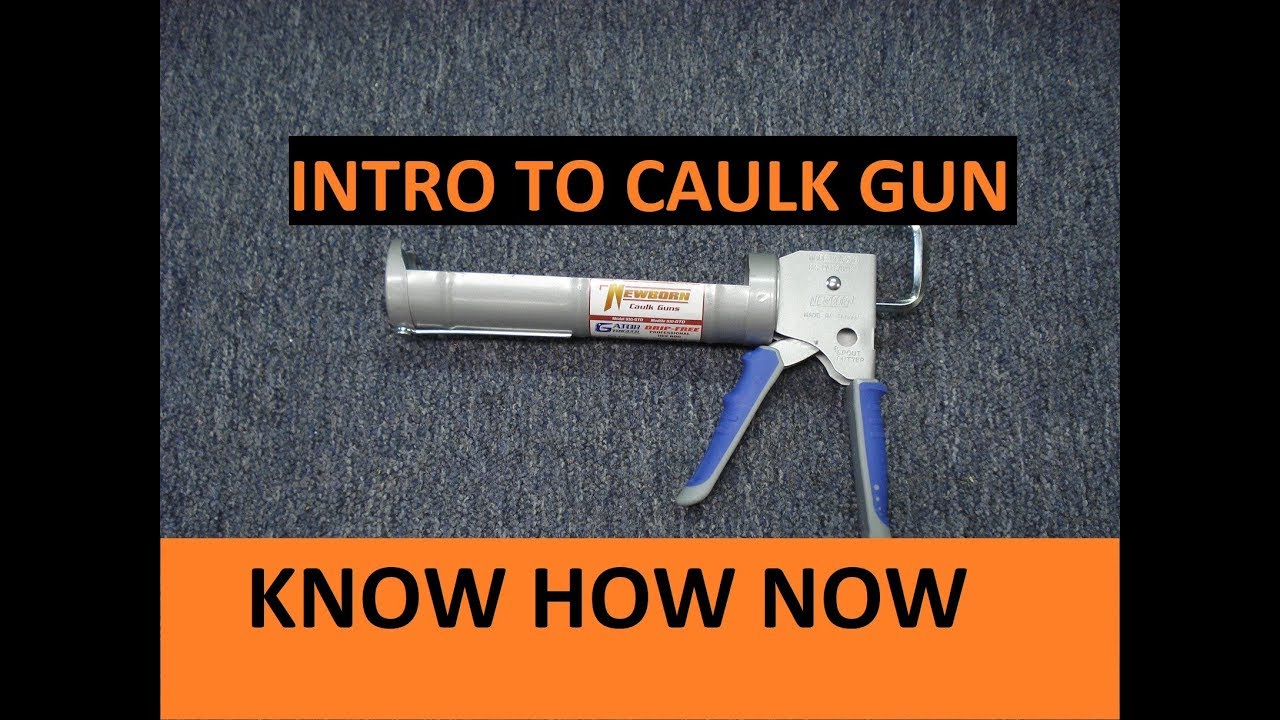
Image taken from the YouTube channel Know How Now , from the video titled Load and Remove a Tube From a Caulk Gun .
Conquer Caulk Gun Clogs with Ease!
There are few things more irritating to the avid DIYer than a clogged caulk gun. You’re in the middle of a project, the sealant is crucial, and suddenly, nothing comes out. The frustration is palpable.
That consistent, smooth bead of caulk you envisioned? Forget about it. Instead, you’re battling a stubborn tool, losing valuable time, and potentially ruining your materials.
A malfunctioning caulk gun can derail even the simplest home improvement task, turning what should be a satisfying accomplishment into a source of aggravation.
The Importance of a Functional Caulk Gun
A well-maintained caulk gun is the unsung hero of many DIY projects. It ensures a consistent and precise application of caulk, resulting in professional-looking results.
Think about it: a smooth, even bead of caulk not only looks better, but also provides a superior seal, preventing water damage, drafts, and other potential problems.
By keeping your caulk gun in top condition, you’re investing in the quality and longevity of your projects.
Your Guide to Clog-Free Caulking
The purpose of this article is simple: to equip you with the knowledge and skills needed to banish caulk gun clogs for good.
We’ll provide easy-to-follow instructions, practical tips, and preventative measures to ensure that your caulk gun is always ready for action.
Say goodbye to frustrating clogs and hello to smooth, seamless caulking!
Understanding the Enemy: Why Caulk Guns Get Clogged
Just as a carpenter understands the grain of wood or a chef the properties of ingredients, a DIY enthusiast must understand the nature of caulk to effectively wield a caulk gun. Clogs aren’t random occurrences; they’re the predictable result of caulk’s inherent properties and how we interact with it.
The Science of Solidification
Caulk, in its fluid state, is a marvel of chemical engineering. It’s designed to be pliable, adhesive, and, most importantly, to transition into a solid, durable sealant. This transformation, however, is its Achilles’ heel.
Most caulks harden through a process called curing, which involves the evaporation of solvents or a chemical reaction with air. This process is essential for creating a watertight or airtight seal.
However, any caulk left exposed to air will begin to cure, whether inside the nozzle of your caulk gun or on the plunger.
This is why understanding the curing process is the first step in preventing frustrating clogs.
Common Culprits Behind Caulk Gun Clogs
Several factors contribute to the dreaded caulk gun clog. Recognizing these culprits allows for targeted preventive action:
-
Dried Caulk in the Nozzle: This is the most common cause. A small amount of caulk left in the nozzle after use will harden, forming a plug that blocks the flow.
-
Hardened Caulk in the Tube: If the caulk tube isn’t properly sealed after use, the caulk inside can dry out and harden, making it difficult or impossible to dispense.
-
Air Exposure: Prolonged exposure to air inside the tube, even without a completely open nozzle, can cause the caulk near the opening to cure prematurely.
-
Improper Storage: Storing caulk tubes in hot or humid environments can accelerate the curing process, leading to hardened caulk and clogs.
-
Backflow into the Gun: Sometimes, caulk can seep back into the barrel of the caulk gun itself, especially if the plunger isn’t properly engaged or the tube is overfilled.
Why Prevention is Paramount
Preventing caulk gun clogs is not just about avoiding frustration; it’s about saving time, money, and materials.
Think of the wasted caulk when you have to discard a partially used tube due to hardening. Consider the time lost wrestling with a clogged gun when you could be making progress on your project.
Moreover, constantly replacing clogged tubes adds up over time, impacting your budget. By adopting preventive measures, you’re investing in the efficiency and cost-effectiveness of your DIY endeavors.
The key takeaway is that a little foresight and routine maintenance can go a long way in keeping your caulk gun clog-free and ready for action.
Gather Your Arsenal: Essential Tools for the Rescue
Just as a surgeon relies on sterilized instruments or an artist on their chosen palette, conquering a clogged caulk gun demands the right tools. Attempting to clear a hardened clog without proper equipment can lead to frustration, wasted time, and even damage to your caulk gun. Before diving into the unclogging process, ensure you have the following items on hand.
The Core Toolkit for Caulk Gun Revival
This isn’t about fancy gadgets or expensive equipment. It’s about gathering a few simple, readily available items that, when used correctly, can effectively restore your caulk gun to optimal functionality.
-
Caulk Gun (The Patient): Naturally, you’ll need the caulk gun itself. Having the gun present ensures you can properly reassemble it after cleaning. It also serves as a constant visual reference during the cleaning process.
-
Utility Knife: Surgical Precision: A utility knife is your primary weapon against hardened caulk. Its sharp blade allows you to carefully cut away the solidified caulk from the nozzle and other affected areas. Retractable blades are safer and also prolong the life of the blade.
-
Mineral Spirits: The Solvent Solution: Mineral spirits are essential for dissolving stubborn caulk residue. This solvent breaks down the hardened caulk, making it easier to remove. It’s particularly useful for soaking the nozzle and cleaning the internal components of the caulk gun.
-
Small Wire or Needle: Detailed Extraction (Optional): For particularly persistent clogs, a small wire, needle, or even a straightened paperclip can be invaluable. These tools allow you to poke through and dislodge remaining caulk particles, especially within the narrow confines of the nozzle.
Safety First: Protecting Yourself
Cleaning a caulk gun involves potential contact with chemicals and sharp objects. Prioritize your safety by including these protective items in your arsenal:
-
Safety Glasses: Shield Your Vision: Splashes of mineral spirits can irritate or damage your eyes. Always wear safety glasses to protect your eyes from accidental splashes. Prevention is key.
-
Gloves: Protect Your Skin: Caulk and mineral spirits can be harsh on your skin. Wear gloves (nitrile or rubber) to prevent irritation and chemical exposure. This will save you from a mess later.
Understanding Tool Functionality
Each tool plays a specific role in the unclogging process. The utility knife acts as a scalpel, carefully removing larger chunks of hardened caulk. Mineral spirits work as a solvent, dissolving the remaining residue. The wire or needle acts as a precision instrument for clearing stubborn blockages.
- Having these tools readily available will help to ensure smooth operation while cleaning.
Step-by-Step Guide: Clearing the Caulk Gun Clog – A Visual Walkthrough
Now that you’ve assembled your toolkit, it’s time to tackle that stubborn clog. Follow this step-by-step guide to restore your caulk gun to working order. This process involves careful disassembly, cleaning, and reassembly, ensuring each component is free from hardened caulk.
Step 1: Removing the Caulk Tube: Setting the Stage for Cleaning
The first step is to safely remove the caulk tube from the gun. This allows for thorough cleaning of both the gun and the tube itself.
Release the Pressure: Begin by releasing the pressure from the plunger mechanism. Most caulk guns have a release lever or button near the handle. Press this to relieve the tension on the plunger rod. This prevents caulk from continuing to flow and making a mess.
Removing the Tube: Once the pressure is released, pull the plunger rod back completely. Then, carefully remove the caulk tube from the back of the caulk gun. Dispose of the tube responsibly if it’s empty, or seal the nozzle to prevent further drying if there is remaining caulk.
Step 2: Addressing the Nozzle Clog: The Primary Culprit
The nozzle is the most common location for clogs, as it’s the point of direct contact with the air. Hardened caulk here obstructs the flow and renders the gun useless.
Initial Removal with a Utility Knife: Use the utility knife to carefully cut away as much hardened caulk as possible from the nozzle’s tip and exterior. Work slowly and deliberately to avoid accidentally cutting yourself or damaging the nozzle. A sharp blade is essential for this task.
The Mineral Spirits Soak: For stubborn clogs that resist the knife, soaking the nozzle in mineral spirits is the next step. Submerge the nozzle in a small container of mineral spirits for at least 15-30 minutes. The solvent will penetrate and soften the hardened caulk, making it easier to remove.
The Fine-Detail Approach: After soaking, use a small wire or needle to poke through any remaining clog inside the nozzle. Work the wire back and forth to dislodge the softened caulk. Be patient and persistent. Repeat the mineral spirits soak if necessary.
Step 3: Cleaning the Plunger and Barrel: Addressing Internal Residue
While the nozzle gets the most attention, the plunger and barrel can also accumulate caulk residue, affecting the gun’s performance.
Wiping the Plunger: Use a clean cloth to wipe down the plunger rod, removing any excess caulk that may have accumulated. Pay particular attention to any grooves or ridges on the plunger, as caulk can easily become trapped there.
Cleaning the Barrel’s Interior: Dampen a clean cloth with mineral spirits and use it to clean the inside of the caulk gun’s barrel. This removes any caulk residue that may be clinging to the interior walls. A clean barrel ensures smooth movement of the plunger and efficient caulk dispensing.
Step 4: Reassembling and Testing: Ensuring Smooth Operation
With all the components cleaned, it’s time to reassemble the caulk gun and test its functionality.
Reinsertion Process: Carefully reinsert the caulk tube into the back of the caulk gun. Ensure it’s seated properly. Then, reinsert the plunger rod and push it forward until it makes contact with the caulk tube.
The Operational Test: Test the caulk gun by squeezing the trigger. The plunger should move forward smoothly, and caulk should flow freely from the nozzle. If the gun still feels stiff or the caulk doesn’t flow properly, revisit the cleaning steps and ensure that all residue has been removed. A properly cleaned and assembled caulk gun should operate smoothly and efficiently.
Proactive Prevention: Keeping Your Caulk Gun in Tip-Top Shape
Clearing a clogged caulk gun is a necessary evil, but it’s far better to avoid the problem altogether. With a few simple habits and proactive measures, you can significantly reduce the frequency of clogs and keep your caulk gun ready for action. Preventing clogs not only saves time and frustration, but also extends the life of your caulk gun and ensures consistent, professional results on your projects.
The Power of Post-Use Cleaning
The single most effective way to prevent caulk gun clogs is diligent cleaning immediately after each use. Don’t let leftover caulk linger; it will harden and create a stubborn obstruction.
Wipe Down the Nozzle: Use a clean rag or paper towel to wipe away excess caulk from the nozzle’s exterior. Don’t underestimate the power of this simple step.
Clean the Interior: If possible, use a small wire or nail to carefully clear any caulk remaining inside the nozzle. This prevents buildup that can quickly solidify.
The Right Way to Store Caulk Tubes
Proper caulk tube storage is crucial for preventing premature hardening and subsequent gun clogs. Air exposure is the enemy.
Seal the Nozzle: After each use, seal the nozzle to prevent air from entering the tube and drying out the caulk. Several methods exist, including using a screw, a nail, or specialized caulk-saving caps.
Airtight is Ideal: Aim for an airtight seal to minimize air exposure. This will dramatically increase the lifespan of your caulk.
Vertical Storage: A Game Changer
How you store your caulk gun can also play a role in clog prevention.
Nozzle Down: Consider storing your caulk gun vertically with the nozzle pointing downwards.
Gravity’s Assistance: This allows gravity to pull any remaining caulk away from the nozzle opening, reducing the likelihood of clogs forming there.
Choosing the Right Caulk for the Job
Selecting the appropriate type of caulk for your project can also contribute to clog prevention.
Consider the Formulation: Some caulk formulations are more prone to drying out and hardening than others.
Read the Label: Pay attention to the manufacturer’s recommendations for storage and usage to ensure optimal performance and minimize the risk of clogs.
Maintaining Your Caulk Gun’s Mechanism
Beyond the nozzle, the caulk gun’s internal mechanism also benefits from regular care.
Plunger Maintenance: Periodically wipe down the plunger rod to remove any accumulated caulk residue. A clean plunger operates more smoothly.
Occasional Lubrication: Apply a small amount of lubricant (such as silicone spray) to the plunger rod to ensure smooth operation and prevent sticking.
Caulk Gun Rescue: Frequently Asked Questions
Hopefully these answers help you keep your caulk gun running smoothly!
How often should I clean my caulk gun?
Ideally, clean your caulk gun after each use. This prevents caulk from hardening inside the nozzle and tube, making future use much easier. Even a quick wipe down helps!
What’s the easiest way to prevent clogs in the first place?
The best prevention is proper storage. After use, retract the plunger slightly to relieve pressure and prevent caulk from continuing to flow. Properly sealing the nozzle helps prevent hardening, and makes it much easier how to remove caulk from caulk gun.
My caulk is rock solid in the nozzle. What can I do?
Try soaking the nozzle in mineral spirits or paint thinner. If that doesn’t work, you might need to replace the nozzle. To learn how to remove caulk from caulk gun, you can also try using a long nail or wire to break up the hardened caulk.
Can I reuse a half-used tube of caulk if it’s been sitting a while?
It depends. If the nozzle is completely blocked, you can try clearing it. However, if the caulk inside the tube itself has hardened significantly, it’s likely unusable. How to remove caulk from caulk gun is one problem, but if the whole tube is hard, it’s time to buy a new one.
So, there you have it! Now you know how to remove caulk from caulk gun and can get that trusty tool back in action. Happy caulking!