Understanding the nuances of electric pin nailers is crucial for achieving flawless trim work, and this guide will equip you with the knowledge you need. Woodworking projects often demand precision, and the choice between using pneumatic tools versus electric pin nailers significantly impacts the final result. Craftsmen around the globe are increasingly turning to electric pin nailers due to their ease of use and portability. The Gauge of the pin nail used in these devices plays a key role in determining the appropriate application, making it essential to choose wisely for optimal results.
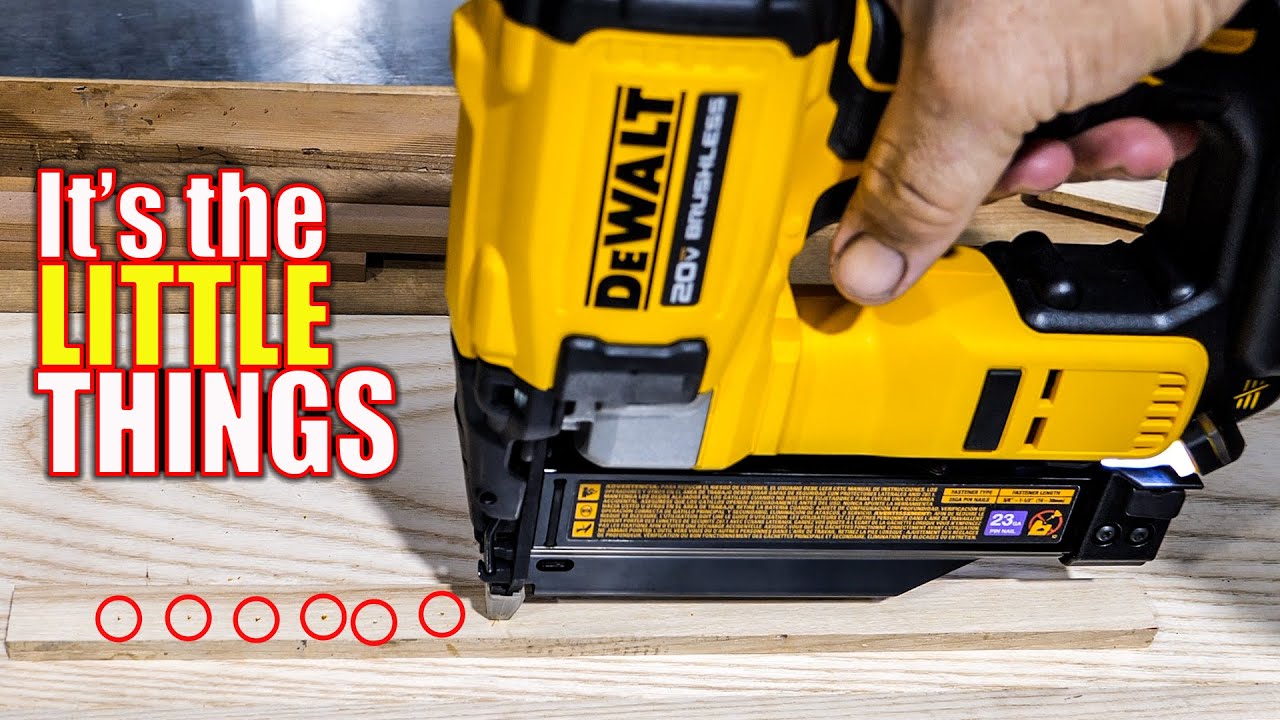
Image taken from the YouTube channel Shop Tool Reviews , from the video titled DETAILS DETAILS! DeWalt 20V DCN623 23GA Pin Nailer Review .
Crafting the Perfect "Electric Pin Nailers: Your Ultimate Buying Guide Revealed" Article
To create a truly helpful and informative buying guide for electric pin nailers, we need a well-structured layout that anticipates the reader’s questions and provides clear, concise answers. Here’s a proposed layout:
1. Introduction: Hooking the Reader & Setting the Stage
- Start with a compelling opening paragraph: Immediately address the reader’s need. Something like: "Tired of unsightly nail holes marring your delicate woodworking projects? Electric pin nailers offer a nearly invisible solution. This guide will walk you through everything you need to know to choose the right one."
- Clearly define what "electric pin nailers" are: Explain their purpose – driving very small, headless nails (pins) for delicate projects where minimal visibility is key. Emphasize the difference between pin nailers and other types of nail guns.
- Highlight the benefits of electric pin nailers over pneumatic or manual options:
- Electric vs. Pneumatic: No compressor needed, quieter operation, more portable.
- Electric vs. Manual: Easier to use, more consistent results, less physical strain.
- Briefly outline what the guide will cover: Provide a roadmap for the reader, setting expectations for the information they will find. Example: "In this guide, we’ll cover the key features to consider, top models on the market, and tips for using your electric pin nailer effectively."
2. Understanding Electric Pin Nailers: Core Features & Specifications
2.1. Nail Gauge and Length
- Explain the importance of nail gauge: Pin nailers typically use 23-gauge nails. Explain what this means and why it’s important for the intended application.
- Discuss available nail lengths: Common lengths range from 1/2 inch to 2 inches. Explain how to choose the appropriate length based on the project.
-
Table illustrating nail gauge and typical applications:
Nail Gauge Typical Applications 23 Delicate woodworking, trim, cabinetry, picture framing, crafts
2.2. Power Source and Battery Life
- Discuss the different types of batteries used: Lithium-ion is the most common. Explain the pros and cons of different battery voltages (e.g., 18V vs. 20V).
- Explain factors affecting battery life: Nail size, wood density, and frequency of use.
- Provide tips for maximizing battery life: Proper storage, charging habits, etc.
- Consider including run-time examples: "You can typically expect to drive [number] of nails on a single charge." (This may require research or referencing product specifications).
2.3. Magazine Capacity and Loading
- Explain magazine capacity: The number of nails the magazine can hold. A higher capacity means less frequent reloading.
- Describe the different types of magazine loading mechanisms: Top-load, side-load, etc. Explain the advantages and disadvantages of each.
- Provide step-by-step instructions for loading the magazine: Include visuals if possible (images or diagrams).
2.4. Depth Adjustment
- Explain the importance of depth adjustment: Allows you to control how deeply the nail is driven, preventing damage to the workpiece.
- Describe the different types of depth adjustment mechanisms: Tool-free vs. requiring a tool.
- Explain how to properly adjust the depth: Start with a shallow setting and gradually increase until the nail is set flush with the surface.
2.5. Safety Features
- Discuss common safety features:
- Contact safety: Prevents the nailer from firing unless the nose is firmly pressed against the workpiece.
- Low-nail indicator: Alerts you when the magazine is running low on nails.
- Lock-off switch: Prevents accidental firing when the nailer is not in use.
- Emphasize the importance of wearing safety glasses: Always use eye protection when operating a nail gun.
3. Top Electric Pin Nailer Models: Reviews & Comparisons
- Present a curated list of the top electric pin nailers on the market: Choose 3-5 models that represent a range of price points and features.
- For each model, provide:
- A brief overview: Highlighting key features and benefits.
- Pros and Cons: A balanced assessment of the product’s strengths and weaknesses.
- Specifications: Nail gauge, nail length, battery voltage, magazine capacity, etc.
- Pricing Information: Provide an approximate price range.
-
Include a comparison table: Summarizing the key features of each model, making it easier for readers to compare and contrast.
Model Nail Gauge Nail Length (in.) Battery Voltage Magazine Capacity Pros Cons Price Range [Model Name] 23 [Length Range] [Voltage] [Capacity] [List Pros] [List Cons] [$ – $$$] [Model Name] 23 [Length Range] [Voltage] [Capacity] [List Pros] [List Cons] [$ – $$$] [Model Name] 23 [Length Range] [Voltage] [Capacity] [List Pros] [List Cons] [$ – $$$]
4. How to Use an Electric Pin Nailer: Step-by-Step Guide
4.1. Preparing for Use
- Safety Precautions: Reiterate the importance of safety glasses and other protective gear.
- Material Preparation: Ensuring the wood is clean, dry, and free of debris.
- Selecting the Correct Nail Length: Provide a general guideline (e.g., nail should penetrate at least 2/3 of the material being fastened).
4.2. Operating the Nailer
- Step-by-step instructions for using the nailer:
- Load the magazine with the appropriate nails.
- Adjust the depth setting as needed.
- Position the nose of the nailer against the workpiece.
- Apply firm, even pressure.
- Pull the trigger to fire the nail.
- Tips for achieving consistent results: Maintaining a consistent angle and pressure.
4.3. Troubleshooting Common Issues
- Nail Not Setting Properly: Adjusting the depth setting.
- Nail Jamming: Clearing the jam and preventing future jams.
- Battery Issues: Troubleshooting battery charging and run-time problems.
5. Maintenance and Care
- Cleaning the Nailer: Removing dust and debris to prevent malfunctions.
- Storing the Nailer: Storing in a dry place to prevent rust and corrosion.
- Replacing Parts: When and how to replace worn or damaged parts.
- Battery Care: Best practices for battery storage and charging.
6. Where to Buy Electric Pin Nailers
- Online Retailers: Listing popular online retailers like Amazon, Home Depot, etc.
- Local Hardware Stores: Encouraging readers to support local businesses.
- Specialty Woodworking Shops: Mentioning that these shops often offer expert advice.
Hopefully, this guide gave you everything you need to choose the perfect **electric pin nailers** for your next project. Now go get nailing!